Time-saving Tip: Frozen Food

In an ideal world, we eat fresh organic vegetables straight from the garden. But the real world is not ideal.

So here’s a time-saving tip:

Allocate a day where you have two hours to spare. Source fresh organic vegetables. Clean and chop. Then put in freezer boxes and freeze immediately. These are great for midweek dinners.

I use mine to make soups, and it takes 2 minutes – i.e. open the freezer, reach for a box and put in a soup pot.

Suggestions:

Onion, tomatoes, carrots, squash, marrow, brussel sprouts, sugar snap peas, herbs (lots of herbs like parsley, basil, rosemary, thyme).

Note: I vary the content of my freezer bags and use funky items. Dill and orange make delicious, unusual chicken soup, so delicate!

orange and dill

Note: You can do the same for frozen fruits too. Frozen fruit boxes are a great idea! You can:

  1. Add green to make green smoothies
  2. Add yoghurt to make lassi
  3. Or just blend it as it is!

fruit box

Homemade Tomato Sauce

Modern life is all about convenience and unconscious living because the world is so fast-paced. If you have children, I bet you have a bottle of tomato ketchup in the house. I do.

But yesterday, we can out of ketchup. Rather than drive down the shops in the rush hour to pick a bottle up, I decided to whizz up some ketchup with the ingredients I have at home.

My teenager wasn’t that impressed, but when I showed her what goes into the bottle of famous-brand ketchup that we normally have in the house, she decided that mum’s homemade ketchup was not so bad after all……….

The famous-brand ketchup contains, apart from sugar, pesticides and the neurotoxins HFCS. You can read about what’s in the famous-brands here:

http://www.realfarmacy.com/worst-food-lies/

It’s all rather scary.

How to make tomato sauce:

Roast about 10 ripe red tomatoes, 3 cloves of garlic, half an onion and a red capsicum (these are what I had at home)  drizzled with olive oil. I roasted the ingredients to give it that lovely smokey smell.

Blitz in a blender (I like it chunky) together with a small bunch of chopped basil

Transfer to a saucepan. Add a bay leaf, a splash of burgundy wine, a tablespoon of vinegar, salt and a pinch of sugar.  Simmer to desired consistency.

Store in a sterilised jar or use immediately. It’s not too bad. It’s quite good, actually. But  I may try a simpler version to make it more synthetic tasting so that it resembles something that comes out of a plastic bottle!

Natural soup thickeners

There is nothing more tempting than a thick, chunky soup on cold days. With winter coming, here’s an idea for you to try.

Normal soup thickeners are cornflour and ordinary flour, which are zero value nutritionally.  Try using grated carrots and perhaps half a potato if you like your soup super-thick. If you add other vegetables and herbs, and boil until those disintegrate, you end up with a rich, delicious soup.  There’s some very beautiful alchemy going on. Just perfect for winter or the rainy season.

soup thickeners

Food from my childhood: Beef Stew

I love my mum’s beef stew and I don’t think mine ever tastes as good as hers.  But over the years, I have perfected it.  Here are my following tricks:

(1) Use two different types of meat: the nice stewing beef chunks coated in seasoned flour and lightly browned, and beef bones.

(2) Use herbs generously.  Tarragon, thyme, bay leaf. Bay is a must.  I use fresh basil too.

(3) Now, this is my magic touch. Collect ends of most unlikely vegetables, such as aubergine, capsicum, parsley stalks, celery heads, etc, freeze them, and just add them to the pot at the beginning of the cooking period.  Over the hours, it will disintegrate to leave behind the most unique taste!

(4) Use different types of root vegetables: carrots, marrow, squash, potatoes.

(5) I always add an onion, a few garlic cloves and a couple of tomatoes.

How to cook it:

Brown the seasoned meat. Add the onions. Add the magic touch (3), bones and half a cupful of apple cider vinegar.  Boil for a few hours then turn down to simmer. Two hours before you serve, add the root vegetables. Simmer for a further two hours until the root veggies are almost melting.  Serve piping hot.

Asian Greens Smoothie

This is a first for me, and the combo tastes surprisingly delicious!

I used: kangkung (water spinach), pak choi and Thai basil. All three leaves are intensely green, which means laden with nutrients.

To make the taste palatable, I added an apple and a pineapple. Cheers!

Note: there are some contraindications to eating kangkung raw because of the parasite Fasciolopsiasis buski,  a large parasitic intestinal fluke that can be found as larval cysts laid on the water spinach (and other water vegetables).  However, I think if you have a strong immune system and undertake a parasite cleanse regularly, you will be protected when eating clean organic kangkung.

If you feel more reassured, replace kankung with ordinary spinach or other greens.

Grown-up Nursery Food: Spaghetti Pomodoro

I have quite a reputation amongst my friends for serving nursery food – they would show up at my house for dinner parties, and surprise surprise, the menu is exactly the same as what I feed my children.  This is because I do not believe in cooking separate meals for kids – a large part of helping a toddler to transition into becoming a child is teaching him how to integrate into our world.

Without much ado, here’s my recipe for an achingly glamorous spaghetti pomodoro.  The kick in this version is that it uses three different kinds of tomatoes:

  1.  Cherry tomatoes preserved in Cointreau – recipe is here
  2. Tomato pesto (see below)
  3. Tomatoes, garlic and chilli roasted in balsamic vinegar and olive oil (as illustrated in the photo below)

roasted tomatoes

To make the tomato pesto, blitz together two ripe red organic tomatoes (for extra taste, roast these), a bunch of basil, half a cup of pine nuts (I used macadamia because I ran out of pine nuts), half a head of garlic and enough olive oil to turn the mix into the desired consistency. Season to taste.

Boil pasta according to packet instructions and assemble.  Serve piping hot, garnish with fresh basil leaves and parmesan cheese if desired.

Making Banana Flour At Home

Why am I making banana flour?

I love baking. Probably because my mother loves baking. Last week, over a three day period, I baked three cakes. It was then I thought to myself, ooops, my family is eating too much flour. Even though the flour I used is unbleached and organic, I felt that they were eating far too much flour.

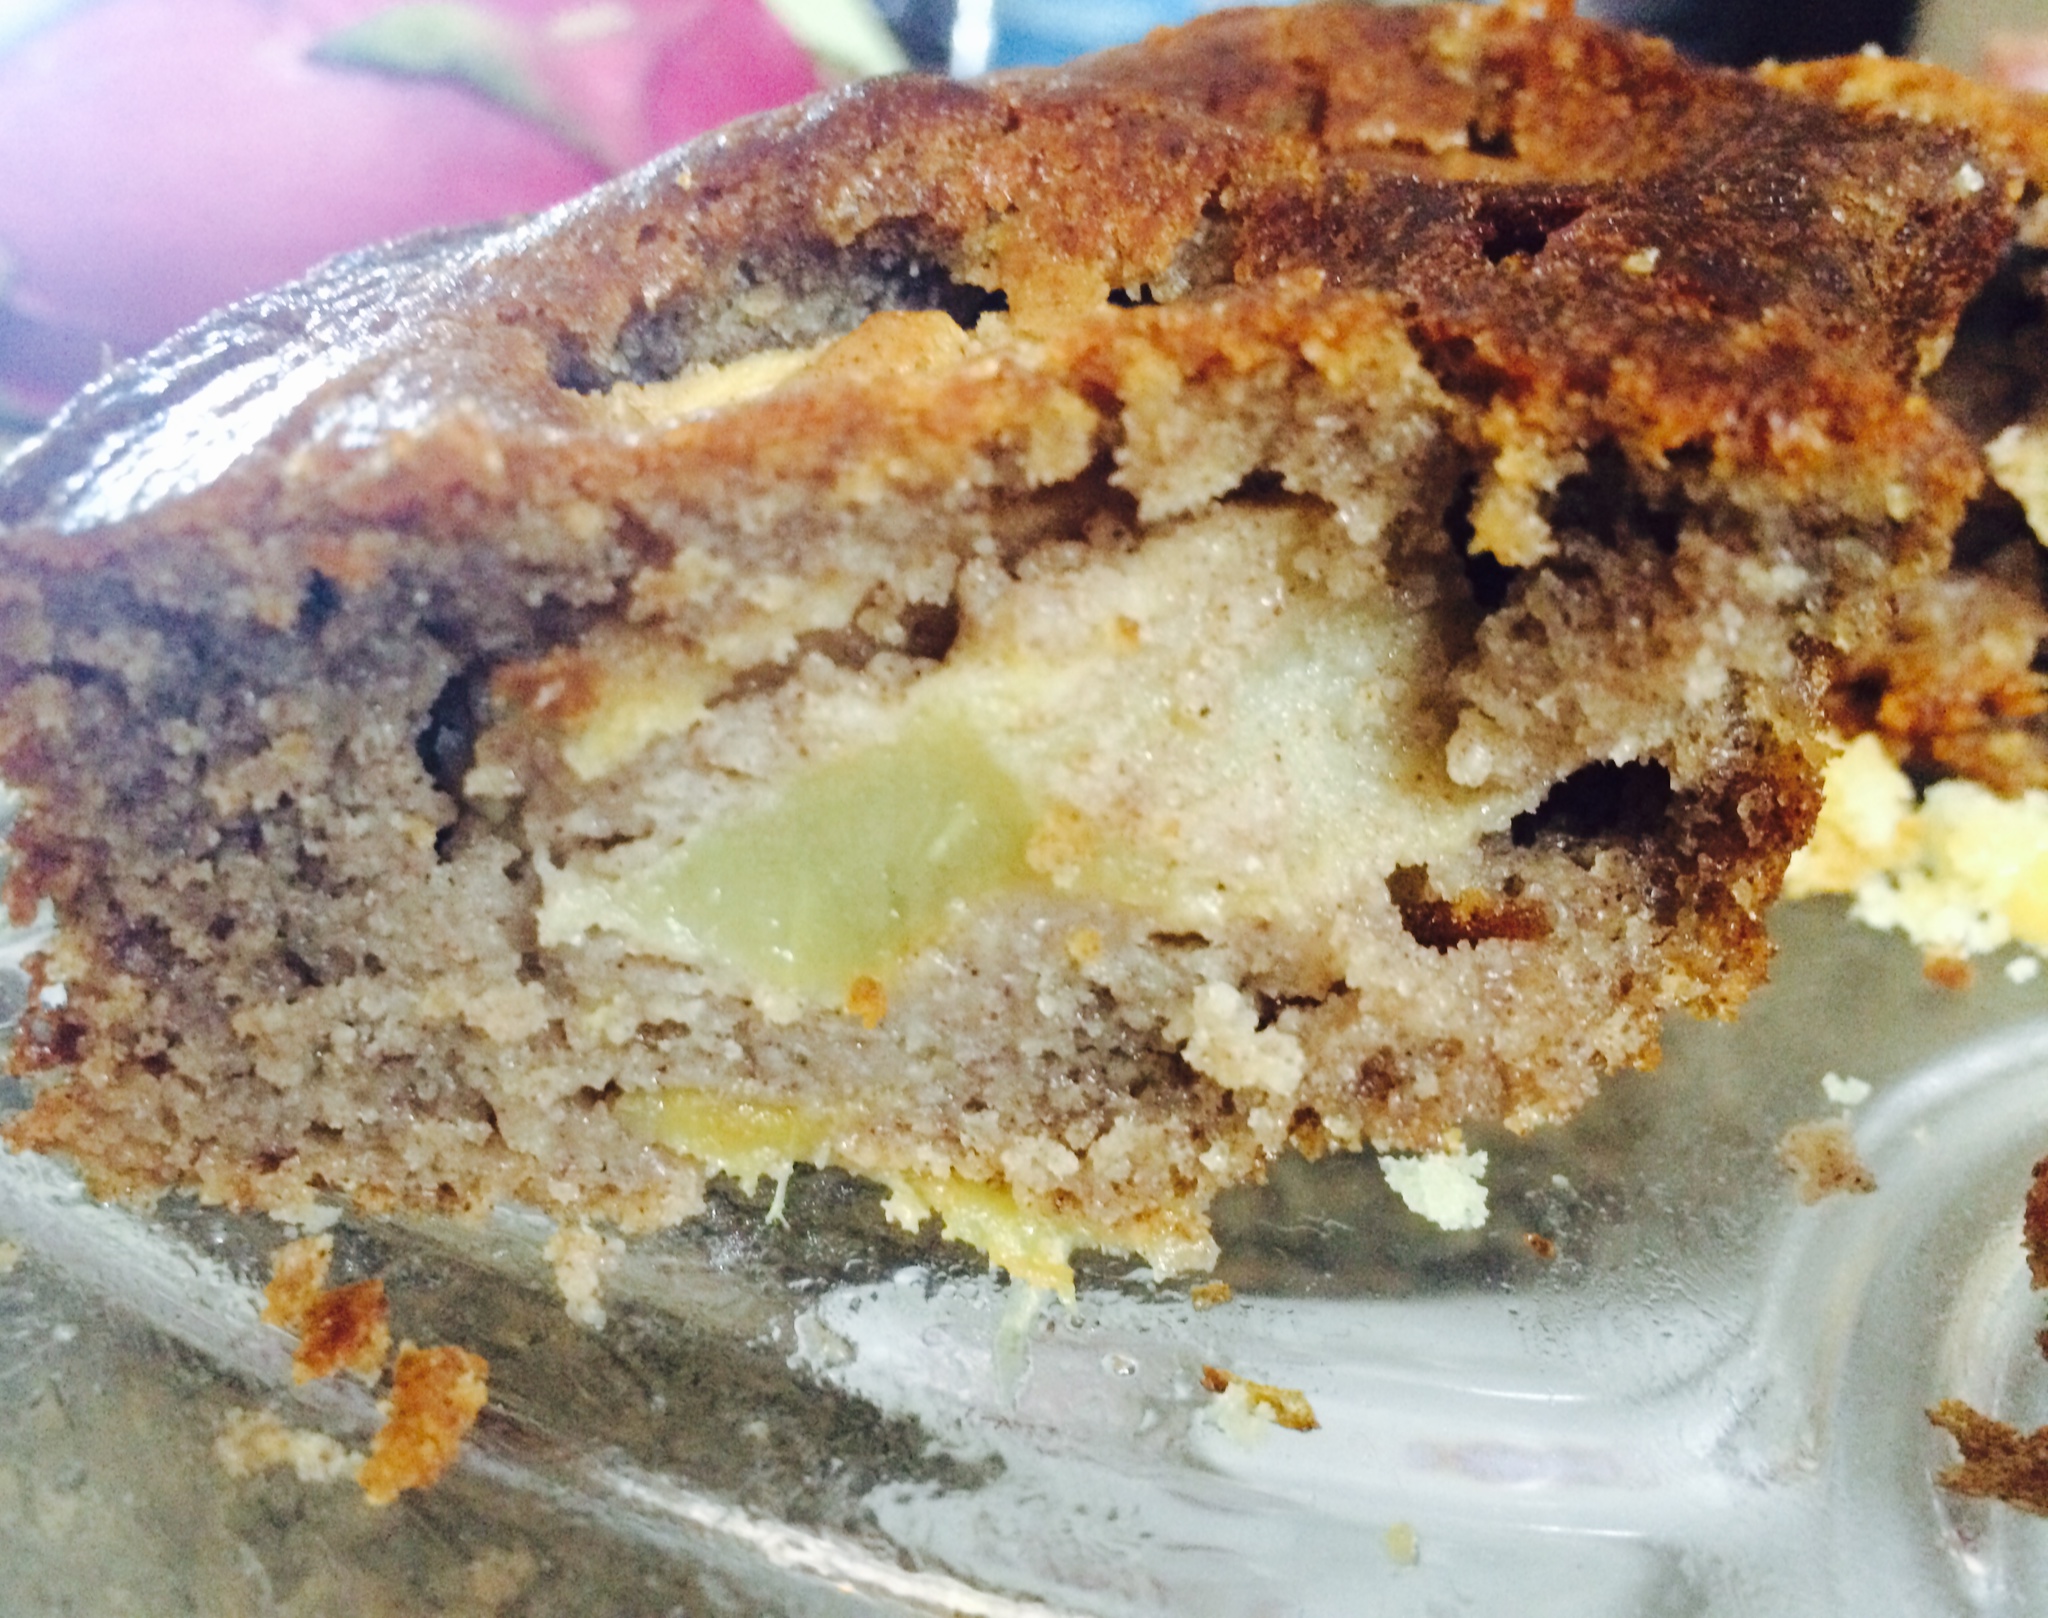
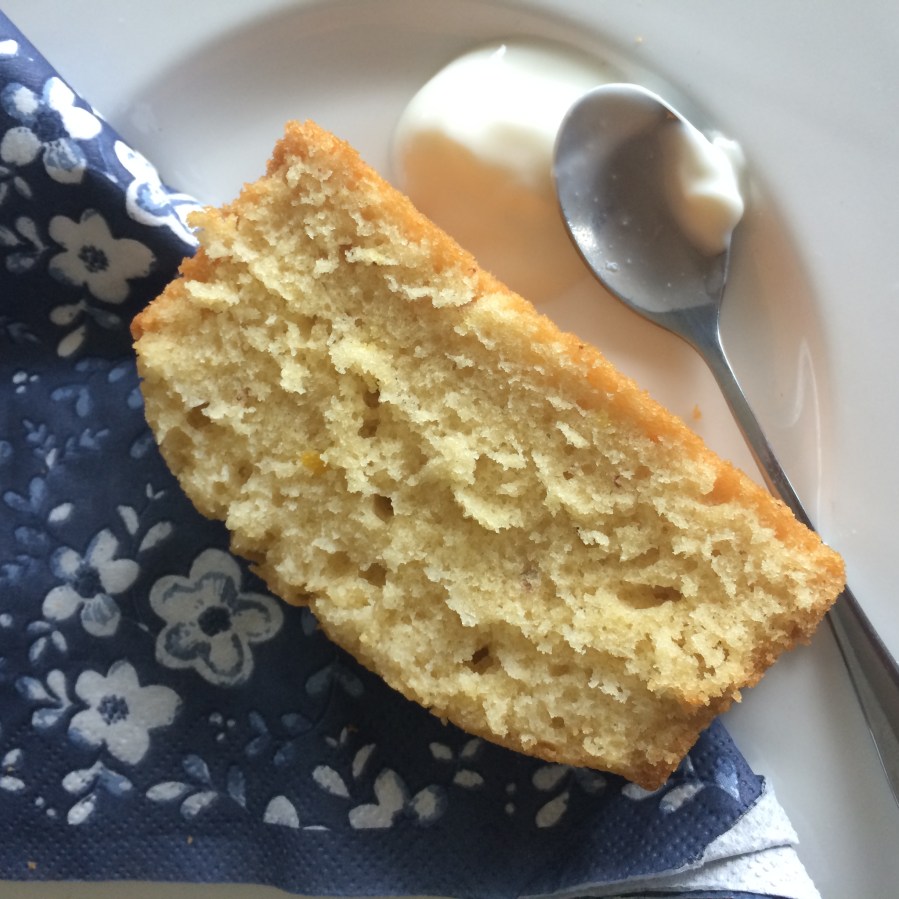
Some time back, my friend Vivienne Webb gave me a bag of banana flour. I have never used it before, and was pleasantly surprised that the apple turnover cake I baked with banana flour tasted every bit as good as it would normally. And yayy, banana flour is gluten-free, so I baked an extra one for my friend Richard Boyle.

Feeling pleased with myself, I posted my recipe on Facebook. Then someone commented, banana flour is expensive. Sitting in lush Phuket looking out at banana trees, I can’t figure – nay, can’t accept – why banana flour should be expensive. It is five times more expensive than regular flour.

I don’t like economics that don’t make sense, so I googled. And made my own.

The goodies

As I am doing my diploma in Naturopathy, I took special interest in the dietary benefits of banana flour, apart from being gluten-free:

  1. Green (unripe) bananas are more nutritious
  2. The goodness is in the skin
  3. Green bananas’ starch is resistant starch, which means that they act more like fibre than starch
  4. Because bananas are sweet, you need less sugar when you use them instead of regular flour in baking

How to

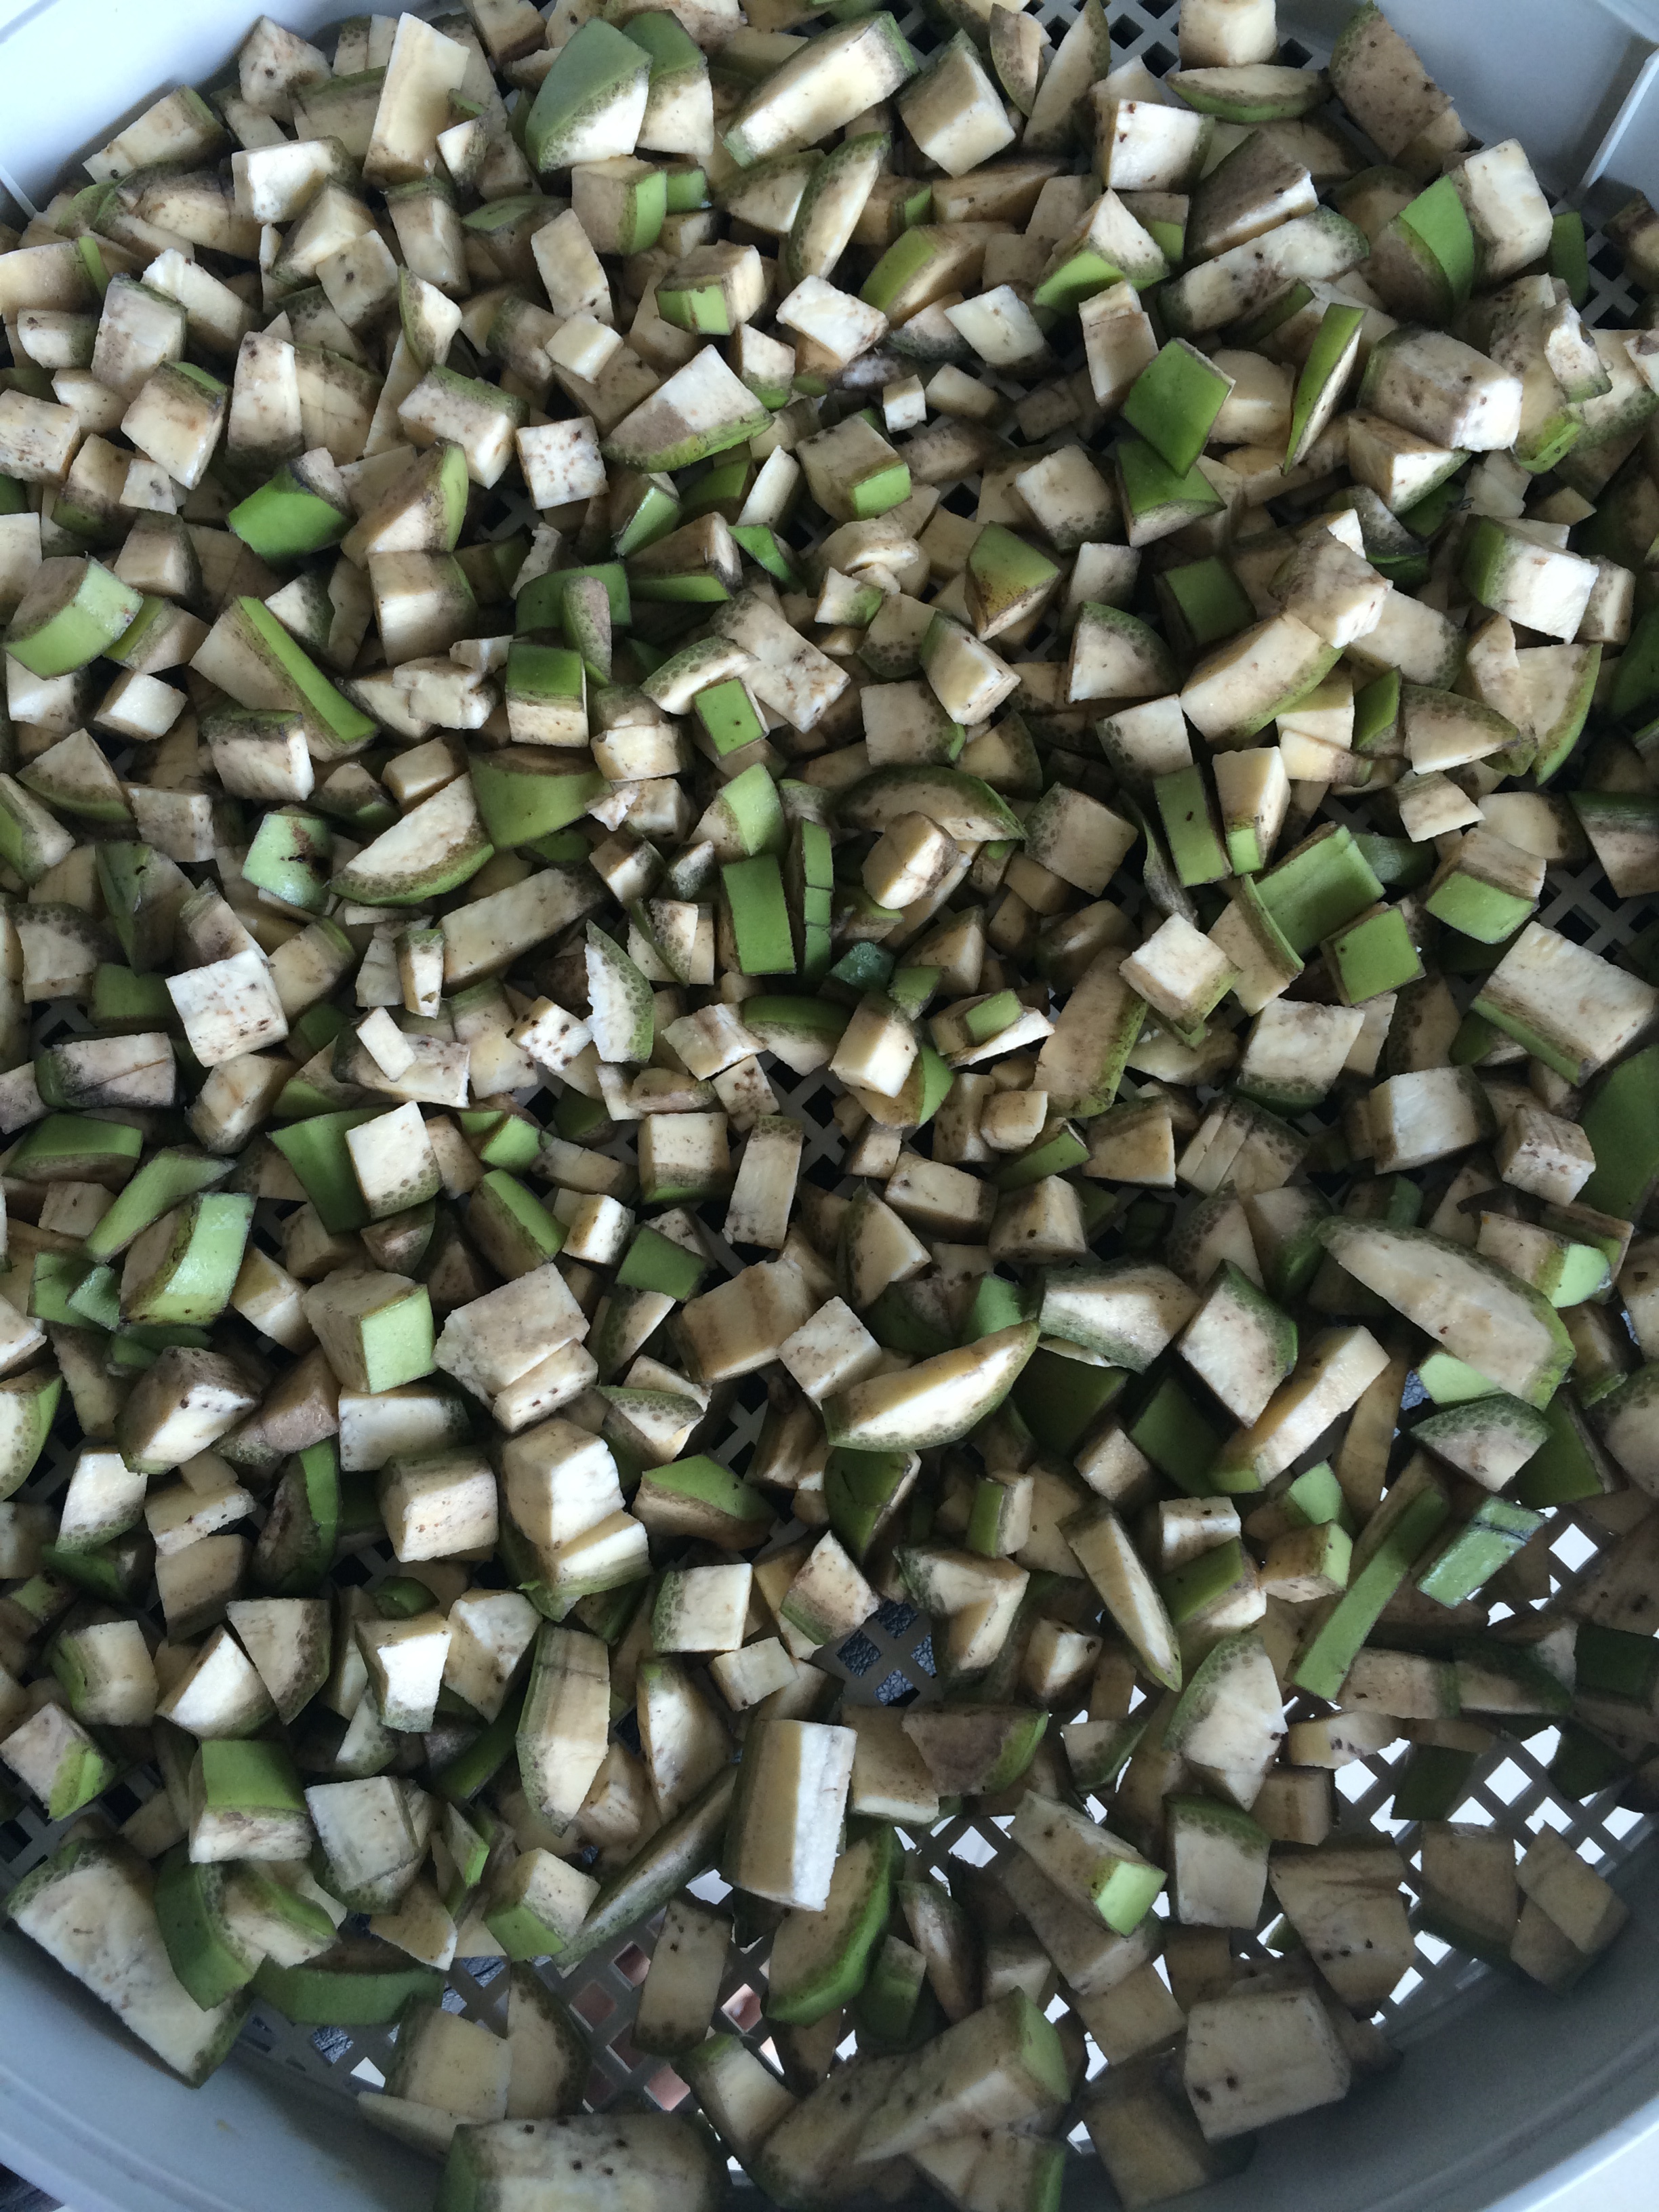
Wash the bananas thoroughly. Top and tail each banana.

flour 1

Cut them into wood chip size. Spread the chips out on a plastic tray. You could either dry them naturally in the sun (cover with muslin) or in a dehydrator.

flour 2

Grind the dried banana chips in a strong blender. As the blade of my blender was not that sharp, I sieved and reground the coarser grains. Store in an airtight container and use soon.

flour 4

Just a reminder, this cake was the one which started it all 🙂  Recipe here.  It tastes really delicious!

apple turnover cake

Food From My Childhood – Apple Turnover Cake

Cake, cake, cake. More blooming cakes. I should rename this blog Cake A Day blog. But hey, it’s all tied up with my childhood programming – my mum loves cakes.

So here’s another one.  But aha, this one is 100% gluten free. I used banana flour. And it tastes better than I expected (after several tries).

Ingredients:

20g butter

6 large apples, peeled, cored and cut onto eighths

1 1/4 cup banana flour

2 tsp baking powder

Pinch of salt

3/4 tsp ground cinnamon or mixed spice

3/4 cups caster sugar

1 cup oil

1 cup full cream milk

2 large organic eggs

2 large egg yolks from organic eggs

zest from 1 orange

Preheat oven t0 180C. Grease the baking tin. Line the baking tin with the apple slices.

Beat butter and sugar until light and fluffy. Mixed the dry ingredients together – sieve into the butter-sugar mix. Slowly fold in the liquid ingredients.

Pour the mixture in.  Bake until it’s all nice and brown, and the fork comes out clean when poked into the cake.

Food From My Childhood: Lemon Drizzle Cake

I absolutely dislike cakes. I don’t eat cakes.

But I often find myself baking cakes.

All because I have a stay-at-home mum who baked cakes, bread, biscuits and pies in our sunny kitchen. I love the smell of baking, which is synonymous of a very happy time in my life. Childhood conditioning is indeed a strong force.

Here’s a slightly healthier version of the classic Lemon Drizzle Cake – I serve it with lemon yoghurt instead of the traditional drizzle made with icing sugar.

You will need:

175g unsalted butter

200g caster sugar

250g unbleached flour

2 tsp baking powder

1/2 tsp bicarbonate of soda

Pinch of sea salt

3 medium eggs at room temperature, beaten

100ml full cream milk, at room temperature

Grated zest of 2 unwaxed lemons

Preheat oven to 180C. Grease baking tin. Combine butter and sugar until light and fluffy. Sieve together the flour with the baking powder, bicarbonate of soda and salt. Add in the dry ingredients with the wet ones alternately. Mixed until smooth. Transfer to the greased baking tin and bake until firm in the middle and light gold all round.

Serve with thick set yoghurt and a squeeze of lemon juice mixed into the yoghurt.

Mango lassi – a sugarless treat

The classical lassi, the traditional drink of India, is actually very simple to make.  It is yoghurt based, and may be sweet or salty. A plain one doesn’t even require fruit, just the yoghurt and salt.

Feeling bored, I decided to make a jazzed up version.  It tastes heavenly!

Here’s the recipe:

One very ripe mango

60ml buttermilk

60ml cold milk

3 tablespoons yoghurt (I ran out of yoghurt, hence the weird buttermilk combo)

Squeeze of lime juice

Ice cubes.

Blitz all together in a blender. I topped mine with flax, bee pollen and acai. Cheers!